
Reclaimed wood is increasingly popular in home decorating across many design styles. There are plenty of ways to get wood in order to upcycle into decorative pieces, but even the simple DIY tasks can require some light woodworking knowledge. Luckily, we’ve put together a couple of beginner-friendly DIY wood projects to create unique and useful decor for your home.
What You’ll Need
For this craft you’ll need some basic tools: sandpaper or a sander, pencil, measuring tape, a cordless drill and a Forstner bit in the correct size for your choice of votive candles. Most tea lights are 1.25″ or 1.5″ but measure yours just in case. You’ll also need the piece of wood you’d like to use, preferably already cut to the desired size.
How to Craft
Use your pencil and measuring tape to mark how far apart you want the votives to be. For safety, keep at least one candle-size of space between each of them. Then, using the drill and Forstner bit, drill shallow holes into the wood at each mark. Measure the depth of each hole to make sure the candles will sit evenly. Once you’re done, sand the edges carefully to prevent splinters and you’re ready to add the votives.
Now you have a beautiful and rustic candle holder you can display in a variety of ways. What’s better is you have the basic skills and experience to make more for yourself or as gifts, all for a fraction of the price you’d spend buying one.
What You’ll Need
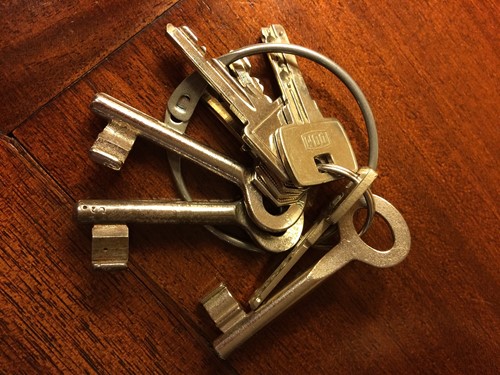
To create your key holder, you’ll need the wood of your choice and any paint or stain you want to add. You’ll also need simple hooks which you can buy at any hardware store or find vintage for a charming mismatched aesthetic. Depending on the type of hooks you have, you’ll need either a hammer or drill to attach them. Otherwise, the only other tools you need are sandpaper and measuring tape.
How to Craft
Choose how you would like to arrange the key hooks and measure accordingly. Sand the edges of the wood carefully until they are safe and smooth, then apply whatever paint or wood stain you chose. You can also keep the wood completely bare and achieve an easy-going rustic presentation. When the wood is dry, use your drill or hammer to attach the hooks at the desired intervals. You can use several methods to attach the key holder to the wall, including traditional picture frame brackets or heavy duty command strips. Make sure whatever you choose will support the weight of the wood—and the keys.
These are just two woodworking projects that any DIY beginner can accomplish with ease. Both are simple and leave lots of room for creativity as well as provide a useful function in the home.

Ted draws energy and joy from building synergetic relationships with his Clients. Ted's nature is graciously gregarious and persevering; he's honest; and he's been dedicated to a substantial list of clientele throughout his 25 years in the hospitality business and seven years as a REALTOR. His passion is creating a sincere, successful relationship with people.
Ted grew up in a family of Realtors in central Indiana, earned a degree in economics and philosophy from the University of Notre Dame, and jumped into all aspects of the restaurant business. His ensuing hospitality career path eventually led him into the Event Management Sales & Service role in hotels and quickly guided him to Los Angeles, San Francisco, and finally to a luxury resort in the Napa Valley, where he, his husband, and their dog have resided for 16 years now.
The irony is not lost on Ted that his ‘growth’ journey has culminated in“living happily ever after” in an agricultural area with a small-town feel and sense of community strikingly reminiscent of his youth…and as a REALTOR nonetheless!